How To Make Your Own Cloth Bags For The Market
Making cloth bags for the market is a good way to protect the environment, save and go out being true fashionistas! As you read, sewing your own bag is the perfect opportunity to personalize it with your style.
Sewing a cloth bag is not as difficult as you think. You just need a little skill, time and patience. You will see how beautiful it is, so much so that as you finish you will want to start with the second one. Can we find out how to do it?
How to make cloth bags step by step
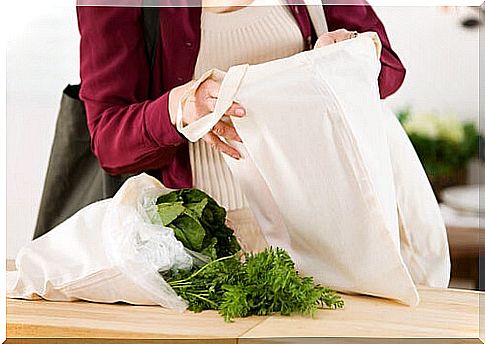
Currently we have to pay for bags in the supermarket and this change has meant a good reduction in plastic production. However, we suggest you go a step further and choose to make cloth bags, in order to avoid buying more plastic.
Necessary materials
- 2 cloth napkins, the color you like best
- 2 thick slats
- printed fabric for decoration (quantity required)
- paperboard
- thread
- needle
- pair of scissors
- chalk for fabric (chalk for fabric)
- pencil
- pins
- sewing machine
- iron
Steps to make cloth bags
The decoration
- Cut a 15 x 11 cm rectangle out of the cardboard, or the shape of your choice.
- Place the cardboard on the patterned fabric and use the chalk to mark the figure. In this way you will be doing the decoration.
- Calculate about an inch around it to be able to hem and finish better.
- Iron the decoration already marking the hem. This will allow you to sew it easier.
- Secure it on one of the napkins with pins, placing it where you like best: in the center, in a corner …
- Sew around the decoration with a sewing machine. Failing that, you can do it by hand. But the final sewing step when making fabric bags must be done by machine to ensure their resistance.
The bag
- Once you have sewn the decoration, place the other napkin on top and secure with pins. Remember that the decoration must be in the middle of the two napkins, since you will sew on the inside of the bag.
- Sew three sides of the napkins, joining them together. Pay special attention to which side you should leave open so that the decoration is straight.
- In the bottom corner of the bag, prepare a triangle and secure with pins. Sew to form the base of the bag. Repeat in the other bottom corner.
- Hem the top of the bag (the one that is open) and sew with the machine.
The handles
- It was time to attach the handles. Cut a ribbon with a length of 30 centimeters (you can make the handle longer, if you wish. Measure it and choose the length yourself) and then do the same with the other.
- Secure the handles at the top of the bag with pins.
- Sew the handles forming a rectangle and an X inside. In this way, you will be giving the bag more stability and strength.
Ideas to make original fabric bags
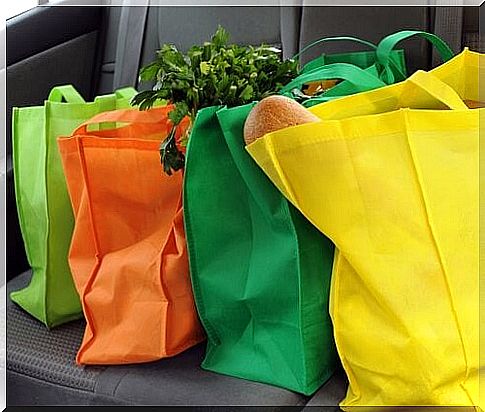
Using the directions above, you can make fabric bags in different styles. You just have to let your imagination fly and soon you will have many different models to go to the market.
- You can use a white cloth and paint over it. You can even invite your children to help you. You don’t have to be a ‘Picasso’ to get a nice cloth bag: cut a potato in the middle and dip it in fabric paint, then decorate with it or simply put paint on your children’s hands and paint the bag with their footprints.
- Another option is to combine different colored napkins, patterned fabrics or whatever comes to mind to achieve a very colorful and original style.
- If you don’t dare to paint a picture, how about writing a sentence? To do this, you can use fabric markers. Easy and pretty!
As you can see, making stylish and practical fabric grocery bags is not as difficult as you might think. Of course, remember to make the seams with a sewing machine to avoid accidents.


